Kristine Soares Photography

Kristine Soares Photography

Recipes

Baking (7) Breads (3) Breakfast (6) Chicken (2) Chocolate (1) Condiments (4) Dessert (9) Dinner (12) Eggs (2) Fruit (3) Lunch (4) Pasta (3) Salad (2) Seafood (4) Snack (1) Snacks (11) Soup (2) Vegetables (8)
Showing posts with label Chicken. Show all posts

Tuesday, June 24, 2014

Stuffed Chicken


Dear blog readers,
   Forgive me as I have sinned. It's been a month since my last blog post.

Oh, you know how it goes. Life just gets crazy. Between migraines, asthma attacks and overall busy schedule, the last thing I wanted to do was sit at a computer for an extended period of time. But I'm back! And I am going to share with you one super easy dinner. It's one that can be customized to your liking and is absolutely delicious. Veggie and cheese stuffed chicken. Yum, right?

Ingredients:

Boneless skinless chicken breast (I chose 3 fairly large ones to have lots of leftovers)
3/4 of a tub of spreadable cheese (Our favorite is Alouette  Spinach and Artichoke)
1 bunch of asparagus (tough ends trimmed off)
1 bell pepper cored, seeded and cut in strips(we had leftovers from a taco night!)
Couple of large handfuls of kale washed and patted dry
3 cloves of garlic minced
Olive oil
Salt
Pepper
Red pepper flakes (optional)

First, I get all the veggies except the kale ready. The peppers and the asparagus are roasted in a skillet with a little olive oil, salt, pepper and red pepper on the stove. Cook the asparagus until tender, but still has a bite to it.


Now to prepare the chicken


On a cutting board, cut a pocket into the chicken. Make sure not to cut all the way through.


Add the chicken to a foil lined cookie sheet. I like to add olive oil to the foil so the chicken doesn't stick. Season the chicken with salt and pepper.


Now for the cheese. Mmmm...cheese. I spread about 2 tablespoons in the pocket of the chicken.


Now, fill the pocket with the veggies. Take any extra veg and surround the chicken with it.


Bake at 350 degrees about 25-30 minutes or until no longer pink and juices run clear. Now I just cook up my kale in a little olive oil, minced garlic and salt/pepper until wilted.


Once chicken is done, I just lay it on top of the cooked kale and ta da! You have a delicious meal!


Monday, May 12, 2014

For the Freezer


If you are like me (and the rest of America), you hate those nights when you are looking in your fridge and say "What's for dinner?"

I try to thwart those pesky thoughts with menu planning the week before. There are still times when we have plans and I don't have time to prepare that night's meal. Or, I just simply don't want to cook that night's meal!

So, what is one to do when they are stumped? Reach in the freezer for a quick, tasty dinner!

I grew up on frozen pizzas, boxed mac and cheese and I swear I could have turned into a chicken nugget. I think that speaks for most American kids, unfortunately. We want the best for our kids of course, but sometimes we need a break and it's just "easier" to let someone do the work for us. I'm going to show you how easy it really is to prepare some freezer favorites. With a little prep and time, you can stock up for a few weeks and will feel so good about what you will be feeding your family.


First, let's start with fish sticks

Ingredients:
The amounts will depend on just how much you want to make, but here is what I used.

2 1/2 lbs of white fish (I used haddock)
1 cup of all purpose flour
1 1/2 cups of Panko breadcrumbs
3 egg whites
Pinch of salt
Pinch of pepper
Paprika
Cayenne
Spray for pans


I start by creating "sticks" out of the fish.


I was able to get 24 pieces, not too shabby.


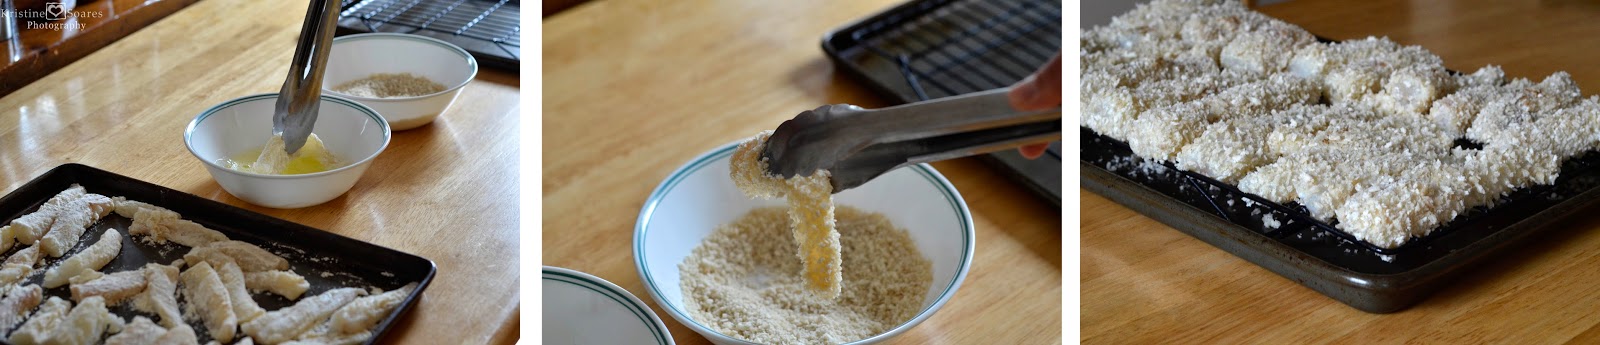
Dredge the fish sticks in the flour and shake off the excess. Put on a cookie sheet and place in the fridge for about 20 minutes.


I use Panko breadcrumbs, because they create the perfect crunch.


Mix together the spices, salt and pepper with the Panko. Now get your stations ready. Essentially, you are creating a very efficient assembly line.


See my pretty little set up? First you have the chilled floured fish. Next the egg whites that have been lightly whipped. Then the breadcrumb mixture (I don't put all of them in the bowl, after awhile they get too soggy. Just replenish as needed). Then I use a sprayed cooling rack on top of a cookie sheet. This will help to get the fish get crispy evenly. If you don't have cooling racks, I would spray foil and just frequently turn in the oven, to ensure even browning.

Dip fish in the egg white. Roll in breadcrumbs. Place on rack. Repeat. It's that simple.


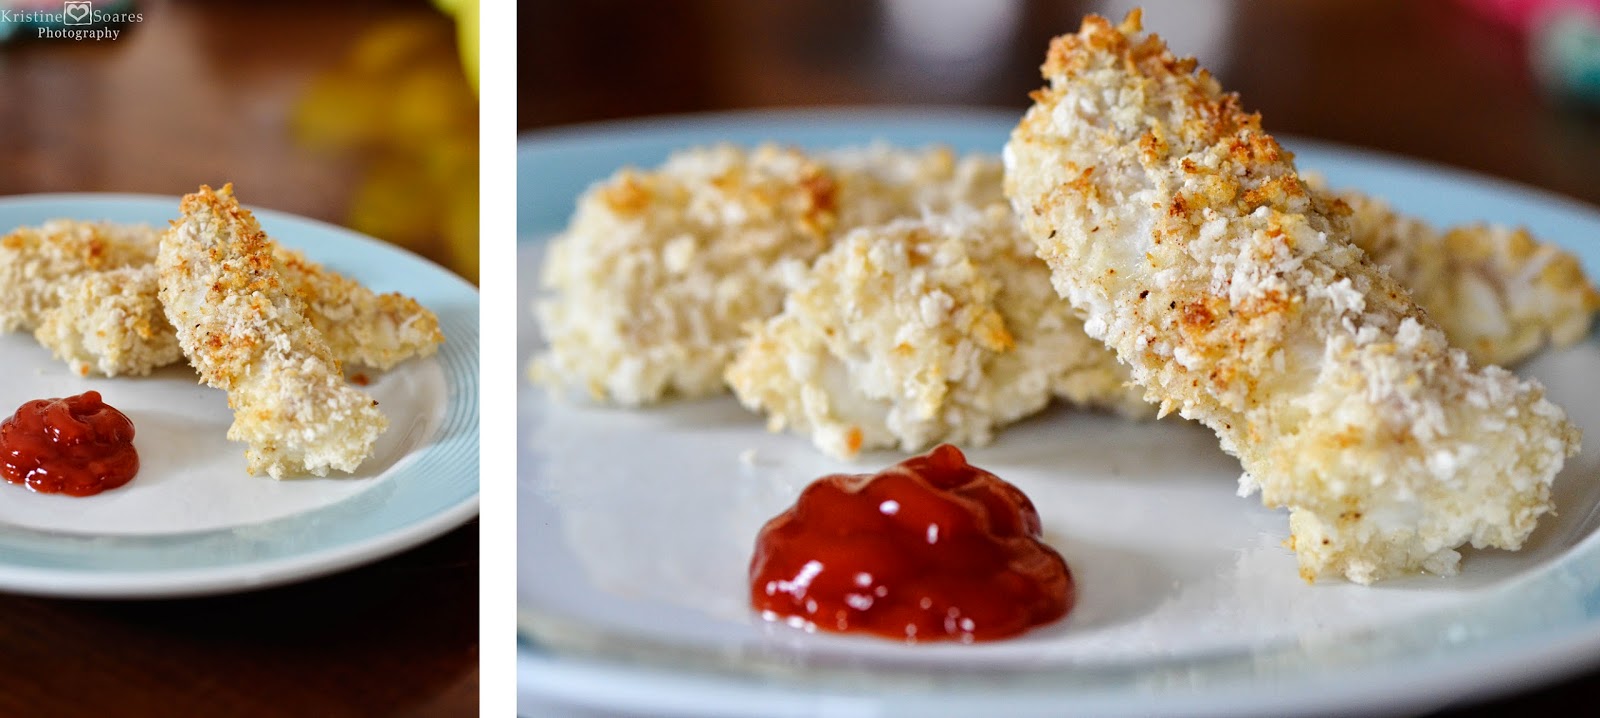
Place them in a 400 degree oven and cook for about 15 minutes or until they start browning and flake nicely.


And now, the chicken "nuggets".

Ingredients(again this will depend on how much you want to make):
1/4 cup of Dijon mustard
1/4 cup of Mayo
1 1/2- 2 lbs of boneless skinless chicken breast
1 cup of seasoned breadcrumbs


Same sort of set up as before. Dip in the liquid, shake off excess and roll in breadcrumbs. This time I just place it on sprayed foil.


I made both chicken tenders and nuggets, just because!


Now, here's a little tip. Use tongs. It creates less of a mess. But, if you are in a hurry and want to work with more than one piece at a time, use your fingers. Beware of the claw!


Pop them in a 350 degree oven for about 20-25 minutes or until they are no longer pink inside and juices run clear.


Wait until they are fully cooled and put them in a freezer bag. If you have a lot, I would either separate them with layers of wax paper or just use more bags. Then just reheat like you would store bought freezer foods. Enjoy!