One woman's attempt to balance love of family, living "healthy" and photography. All while trying to get dinner on the table.
Recipes
Monday, July 21, 2014
Facing your fears, no matter how small they are.
We all have something that scares us, right? Some may be small and pretty easily avoidable like the fear of clowns. You aren't encountering a clown on a daily basis...I would think. Or some can be truly paralyzing like the fear of being alone or death. And we all have our own little ways we cope with these fears. It's yet another common thread that connects us as a race. Sure, the fears may be different, but we can all be understanding to those who are going through something.
For me, I have lots of little fears/phobias. I'm afraid of driving over bridges (due to a reoccurring nightmare I've had since I was little), I have little anxiety attacks over being in crowded areas I'm unfamiliar with, I am a notorious lock checker and the list goes on and on.
One fear that I seem to face head on, comes in the form of a teeny tiny nuisance. Bugs. However, the only way I am able to approach these creatures is by shielding myself with my trusty camera. I don't exactly know the logic behind this? But I do know, that in my mind, it works. For instance, if I was in the backyard "camera-less", you would hear me complaining about the mosquitoes or screaming if a spider landed on me. Now, with camera in hand, I'm like a National Geographic photographer! I walk with confidence and my macro lens and I get what feels like an eyelash away from these little buggers that well.....bug me.
I'm able to appreciate the work that they do.
I see the complexity in their features.
My nemesis (especially in my home), don't seem to bother me outside as much right now.
Some, might even be a little cute. In their own buggy way.
And some are still useless to me and just a pain. And yes, that is a mosquito foraging through my husband's leg hair.
And while I can't quite shake my hatred all together, for a moment we can be at peace. Even if this guy popped up close to my arm.
Tuesday, July 15, 2014
Finding Inspiration
This week, I get to combine two things very close to my heart. My love for educating children and photography.
I was asked by my son's school to help with their summer camp program. For a week, I will share my knowledge of photography with little ones, mainly between the ages of 3 and 5 years old. So far, I am so elated by their curiosity and their ability to apply what they are being taught.
I use to be an Early Childhood educator, for about 6 years. I worked with infants and toddlers mostly and was always amazed at their intelligence. From then on, I never underestimated a child. They are far more capable than a lot of people give them credit for. So, while I knew I needed to adjust some terminology and complexities of this topic for children, I wasn't going to "dumb it down" for them. I wanted to see what they could handle and I am happily surprised by how it's going.
The first topic we've discussed is the importance of light. Here are a few of my examples I've shown them. I ask them what they see in each picture. Would my lens (we pretended our eyes were a lens) be wide open or somewhat closed? Do we see silhouettes?
We talked about the importance of timing. Do we want to "freeze" something in time? Or do we want to slow things down and make it seem more fluid? We practiced this by doing the popular "Freeze Dance" song.
We talked about composition. How can we set up a good picture? What is the story we are trying to tell?
This last picture cracked them up. I asked them what they saw and what could this be? This is the pattern on a dog's legs. When he was laying down, it looked like a ferret to me! The kids thought it looked like a rabbit!
It has only been a couple of days, but my eyes are filled with happy tears.
"Miss Kristine, Miss Kristine...I took these pictures of construction because...because I was inspired"
"No...I want to take a canvas (candid) of you"
"I know what a portrait is, it's in my frame"
Out of the mouths of babes.
Wednesday, July 9, 2014
My Favorite Salad
It's hot.
So hot, that I don't want to cook, as I'm sure most of you don't either. How can I give my family a healthy, satisfying meal that won't have me looking like a drenched mess in the kitchen? Easy...salad!
A salad doesn't have to be boring. I look at it like a blank canvas. You can mix and match to your liking. This recipe is my absolute favorite. Especially on a hot summer day. We have had this salad at least twice a week and we never tire of it. Bonus, you don't really need to follow an ingredient list because it's whatever you want to throw in! That's why I call this the "Kitchen salad".
This has been the summer of lettuce (right now I'm hearing "summer of George" from Seinfeld in my head). Our garden has been churning out the most delicious types of lettuce for weeks now and I can't get enough of them.
I wash the lettuce thoroughly and use my salad spinner to get rid of excess water.
Chop and and peel any veg you want to add in. I like bell peppers and cucumbers.
Then my favorite part of the salad is a crisp green apple. I like to leave the skin on (I use organic and still wash it well). Just cut it into bite size pieces.
For a little a bit of dairy/fat, I add in a few slices (cut into cubes) of a sharp cheddar cheese.
Now I add in a handful of raisins and cashews. This is when I really change it up. Sometimes I throw in dried cranberries or other dried fruit. Sometimes almonds or pistachios. Sometimes I'll also add sunflower seeds. It's really all about having different textures and taste profiles in your salad. That's what keeps it from getting monotonous.
With a "fancy" salad like this one, I like to use a good olive oil and vinegar. Some bottled dressing work well too, I would choose a raspberry walnut or a poppy seed. These were found at this cool little local store http://www.newburyportoliveoil.com/.
The sequence goes: Oil-Salt&Pepper-Vinegar
And then your dinner is ready to enjoy. One big salad (Interestingly enough makes me think of another Seinfeld reference!) will feed our family well and leave leftovers for lunch if we reserve some without the dressing.
Feel free to copy this exactly or experiment and make your own kitchen salad!
Sunday, July 6, 2014
"Dancing in Meadows of Strawberry Jam"
This entry will be a little different, as my husband is doing the cooking! Actually, we are calling it a team effort.
The day before the 4th of July, my son and I went strawberry picking again(http://kristinesoares.blogspot.com/2014/06/strawberry-fields-forever.html)! Because they were so good the first time, we need to get more before the picking season ended. This time we got over 6 pounds! We had a plan, a "jam plan" (Friends fanatics will know what I'm referring to).
I needed some help, as I've never canned anything before. Marc, however is pretty skilled at this. He's spent hours canning tomatoes, relish and sauce. Lucky for us, he had some time off and we spent our rainy 4th of July making bread and strawberry jam. And boy was it good.
Ingredients:
Roughly 6lbs of ripe strawberries hulled and washed
A little less than 3 cups of sugar
2 packets of Sure-Jell low/no sugar pectin
2 tbsp lemon juice
My "job" was to hull all of these babies and some of them were super tiny. Thankfully, Marc decided to buy us a strawberry huller which made it faster. It kind of looks like this one http://www.amazon.com/Fox-Run-5582-Strawberry-Huller/dp/B006CFQ33K/ref=sr_1_5?ie=UTF8&qid=1404676381&sr=8-5&keywords=strawberry+huller
Wash and dice the strawberries
In a large pot, cook them down until strawberries are very tender. Mash them up a little. If you want a smooth jam, just blend it with a immersion (stick) blender.
Add in your pectin
Then 1/4 cup of the sugar and bring the mixture to a rolling boil.
After the rolling boil, add remaining sugar and boil again for another minute. Take off the heat. Big hint, taste as you go! You may or may not need all of the sugar listed. This jam is not nearly as sweet as some others (others would call for double the sugar then what we used), but taste before you add it all in. If the fruit is sweet enough on it's own, you can probably omit some sugar.
Prepare your jelly jars. First we wash them well with soap and water. I am a novice at this part, so follow along proper safety instructions (http://www.freshpreserving.com/getting-started).
Fill the jars, put on the lids and then they process in a water bath for ten minutes.
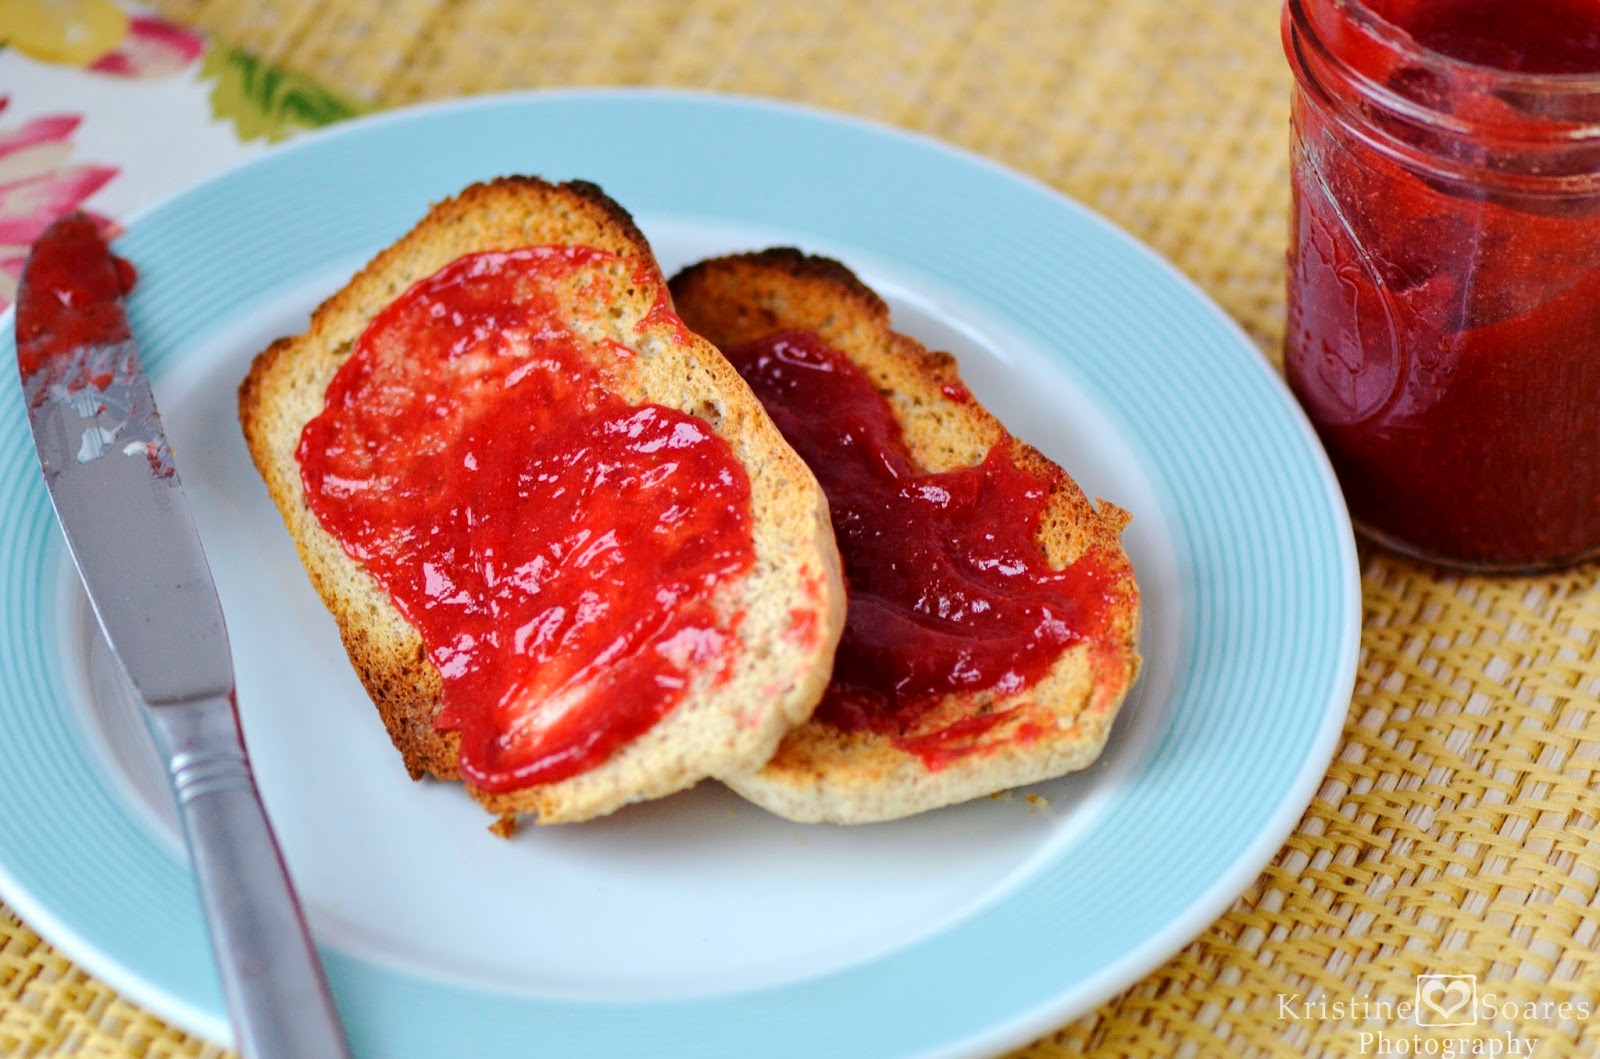
Take out and let cool. As they cool, the jam/jelly starts to set up nicely. This was the hard part, because all I wanted to do was try it on a piece of freshly made bread.
And then...it was time. Hands down, the BEST jam I've ever had.
Labels:
Condiments,
Dessert,
Fruit,
Snack
Subscribe to:
Comments (Atom)


.jpg)


